Showing posts with label Sweet Snacks. Show all posts

Sunday, May 17, 2015

Sweet Snacks: Chocolate Waffle Ice Cream Sandwiches

For the last Sweet Snacks of the spring session, we made Chocolate Waffle Ice Cream Sandwiches. And yes, it was as good as it sounds. 

I used Alton Brown's recipe to make the chocolate waffles. I only made half a recipe at time which made about 6 waffles. (How did I halve the called-for three eggs? One egg and a yolk. It seemed to work ok.)


Here's what you need: 

We mixed the dry ingredients: 


Then the wet ingredients: 


Then we mixed them together and took them over to the waffle irons. I was lucky to have two of these; I borrowed one from another staff member. 


Chocolate waffles:


To add the ice cream, I took a container of Edy's Slow Churned, put it on its side, and used a big knife to cut about half an inch off the top of the container. I popped out the resulting round of ice cream and placed it between the two waffles.  

The ice cream, halfway through the program. It's been cut down a little bit at this point...
I cut the resulting ice cream sandwiches into triangles and TA DA!: ice cream sandwiches for everyone!


I chose to do a recipe that had a lot of ingredients so that everyone would get a chance to measure something and mix it in. You could also, I presume, use regular just-add-water waffle mix, but that doesn't seem as exciting. Even with all the ingredients that went in to this and making two sandwiches (four waffles) per group, it only took about 20 minutes per group of ten. I love how many times I hear "oh, hey, we can make this at home!"

Verdict: yummy!

Tuesday, May 5, 2015

Sweet Snacks: Rolled-Up French Toast

On the menu for April's Sweet Snacks program: Rolled-up French Toast.

Here's how we did it. (Click here to learn more about how I cook with the kids.)

Start with a piece of white bread and a rolling pin. 


Roll it till it's flat flat flat. 


Spread it with your choice of topping. I offered cream cheese, flavored cream cheese, jelly, and cinnamon sugar. You can do peanut butter, too, but I worry about allergies so I stay away from it unless it is absolutely necessary to have it (we used it when we made Muddy Buddies, for example, but I made extra sure everyone knew that it was coming). 

Cinnamon sugar. Possibly more than strictly necessary...?

Next, make the egg dip. Mix 2 eggs and 3 tablespoons of milk in a bowl. Whisk until it's combined. 

Then roll your bread into a tight roll, dip it in the egg mixture, and place it (seam-side down) in your trusty skillet (my skillet is the awesomest. Go my skillet.)


Biggest challenge: remembering which roll belonged to which child.

Carefully turn the roll as it browns to make sure all the sides get cooked. 

When it's done, put it on a plate and sprinkle with powdered sugar or cinnamon sugar. 


Super simple, delicious, and the ingredients were relatively inexpensive, too. Over the next few days, I received several reports of the kids making these at home for breakfast. Yum!

Wednesday, March 25, 2015

Sweet Snacks: Popcorn

As I was running through ideas for my Sweet Snacks program (check this post for a run-down of how I cook with my kids), I came across the idea of flavored popcorn in one of the cookbooks. A little bit of googling revealed a world of flavored popcorn that I could never have imagined (seriously, google it. It's astounding).

I narrowed it down to four options based on what I thought the kids would like, what might be a little different for them, and what took the simplest ingredients. Here's what I picked: cinnamon sugar, parmesan cheese, ranch, and rocky road.

Here are the ingredients you'll need for the toppings:

Not pictured: sugar. We mixed our own cinnamon sugar - you can always buy premixed if you prefer. 
The popcorn itself is just needs some vegetable oil and popcorn kernels.

I pulled out my trusty skillet (is there anything it can't do?) and we went to work.

First, put 1/4 cup of oil in the skillet.


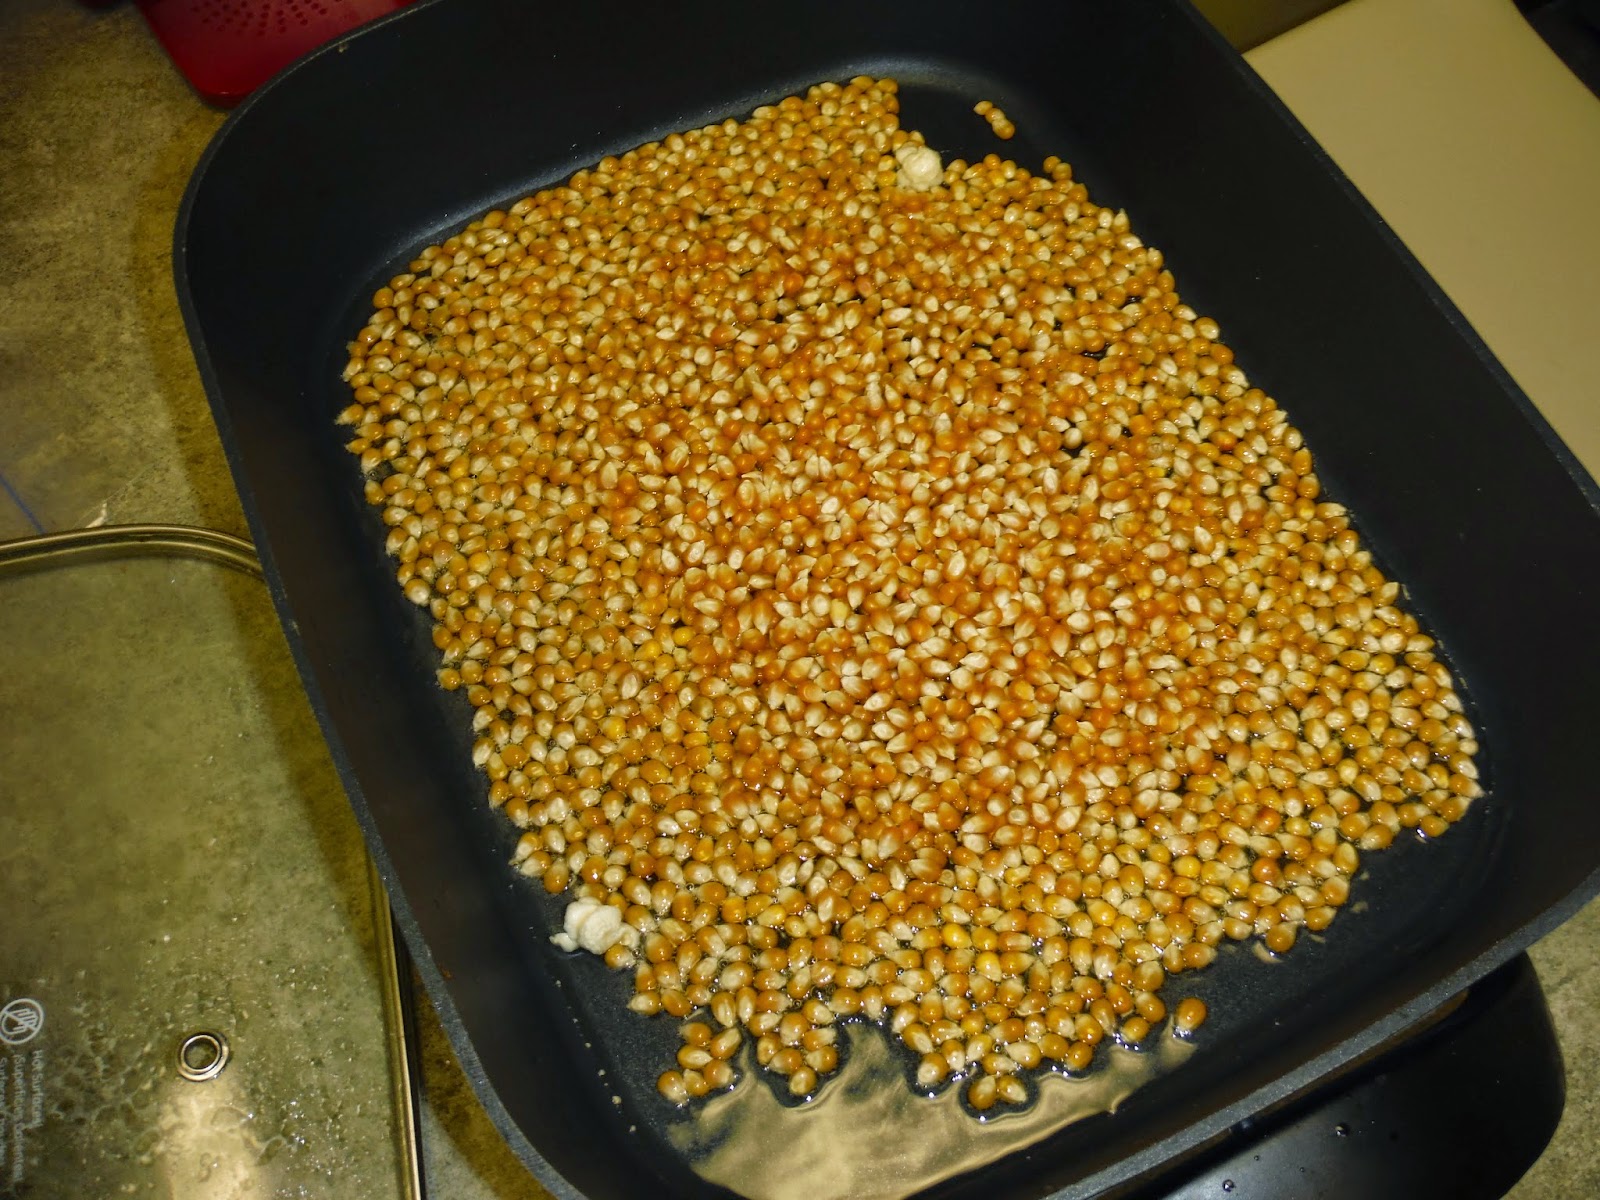
Throw a few kernels in the oil and cover it. 


Wait. Use this time to talk about kernels vs. popped corn or microwave popcorn vs. the kind we are making or which kernel you think will pop first. 


When one pops, cover the bottom of the pan with kernels. Cover the skillet. 


It will start to pop pop pop and be oh, so very fun. Once the popping slows down, turn the heat off and wait a minute or so. Take the lid off (carefully! Some kernels may still be popping!). 


We divided our popped corn into four large bowls with lids and added the toppings. 

Ranch Flavor: 
Butter
Ranch dressing mix
Chives


Cinnamon Sugar Flavor:
Butter
Cinnamon sugar


Rocky Road Flavor: 
Butter
Chocolate Chips
Marshmallows


Parmesan Cheese Flavor: 
Butter
Parmesan Cheese


Put the lids on the bowls and SHAKE!


Delicious.


For those keeping score at home, the Ranch dressing was far and away the parent favorite while the kids were totally enamored with Rocky Road. 

To each his own... popcorn.

Tuesday, February 24, 2015

What Works for Me: Cooking with Kids


Several years ago, I found myself having to come up with an afternoon program every day after school. I did pretty much every program I could think of, and eventually started cooking with the kids. It was a smash hit and has been ever since. I've done various iterations of the same idea over the years, and here's what I've learned. 


Registration: 
In my original library, I didn't register the kids because it would have been a disaster. The registered ones wouldn't come and the one who were there would want to participate and I would have ended up with an empty program and crying children. Instead, I welcomed anyone in. This is risky, of course, since I was never sure how many kids would show up. I found that planning for about 45 kids worked out well (yes, it was chaos... why do you ask? Some day I'll tell you about the time we made egg sandwiches and I bought 96 eggs and had to turn kids away at the door because I had run out of eggs). This method mostly worked out well for everyone.

At another library, however, I did this program without registration and ended up having to cancel the program when a mother (who had sent her child to the library on his own) called to complain that he was lactose intolerant.

Now, I register everyone and require an email address. The day before the program, I email all the parents explaining what we are making and listing the ingredients, making sure parents know exactly what is going in the food. This works well in my current community and we have had no troubles.

Set-up:
I have tried this several ways. When I had the huge number of kids, I had three volunteers who would run three other stations and we ran four concurrent stations, each doing the same recipe. Of course, this meant I needed four of each appliance (more on these in a minute). And four volunteers.

Right now, I am running four sections over two hours with up to twelve kids in each section. This means I only need one of each appliance, but I also need a volunteer who helps me clean things between each group.

Materials: 
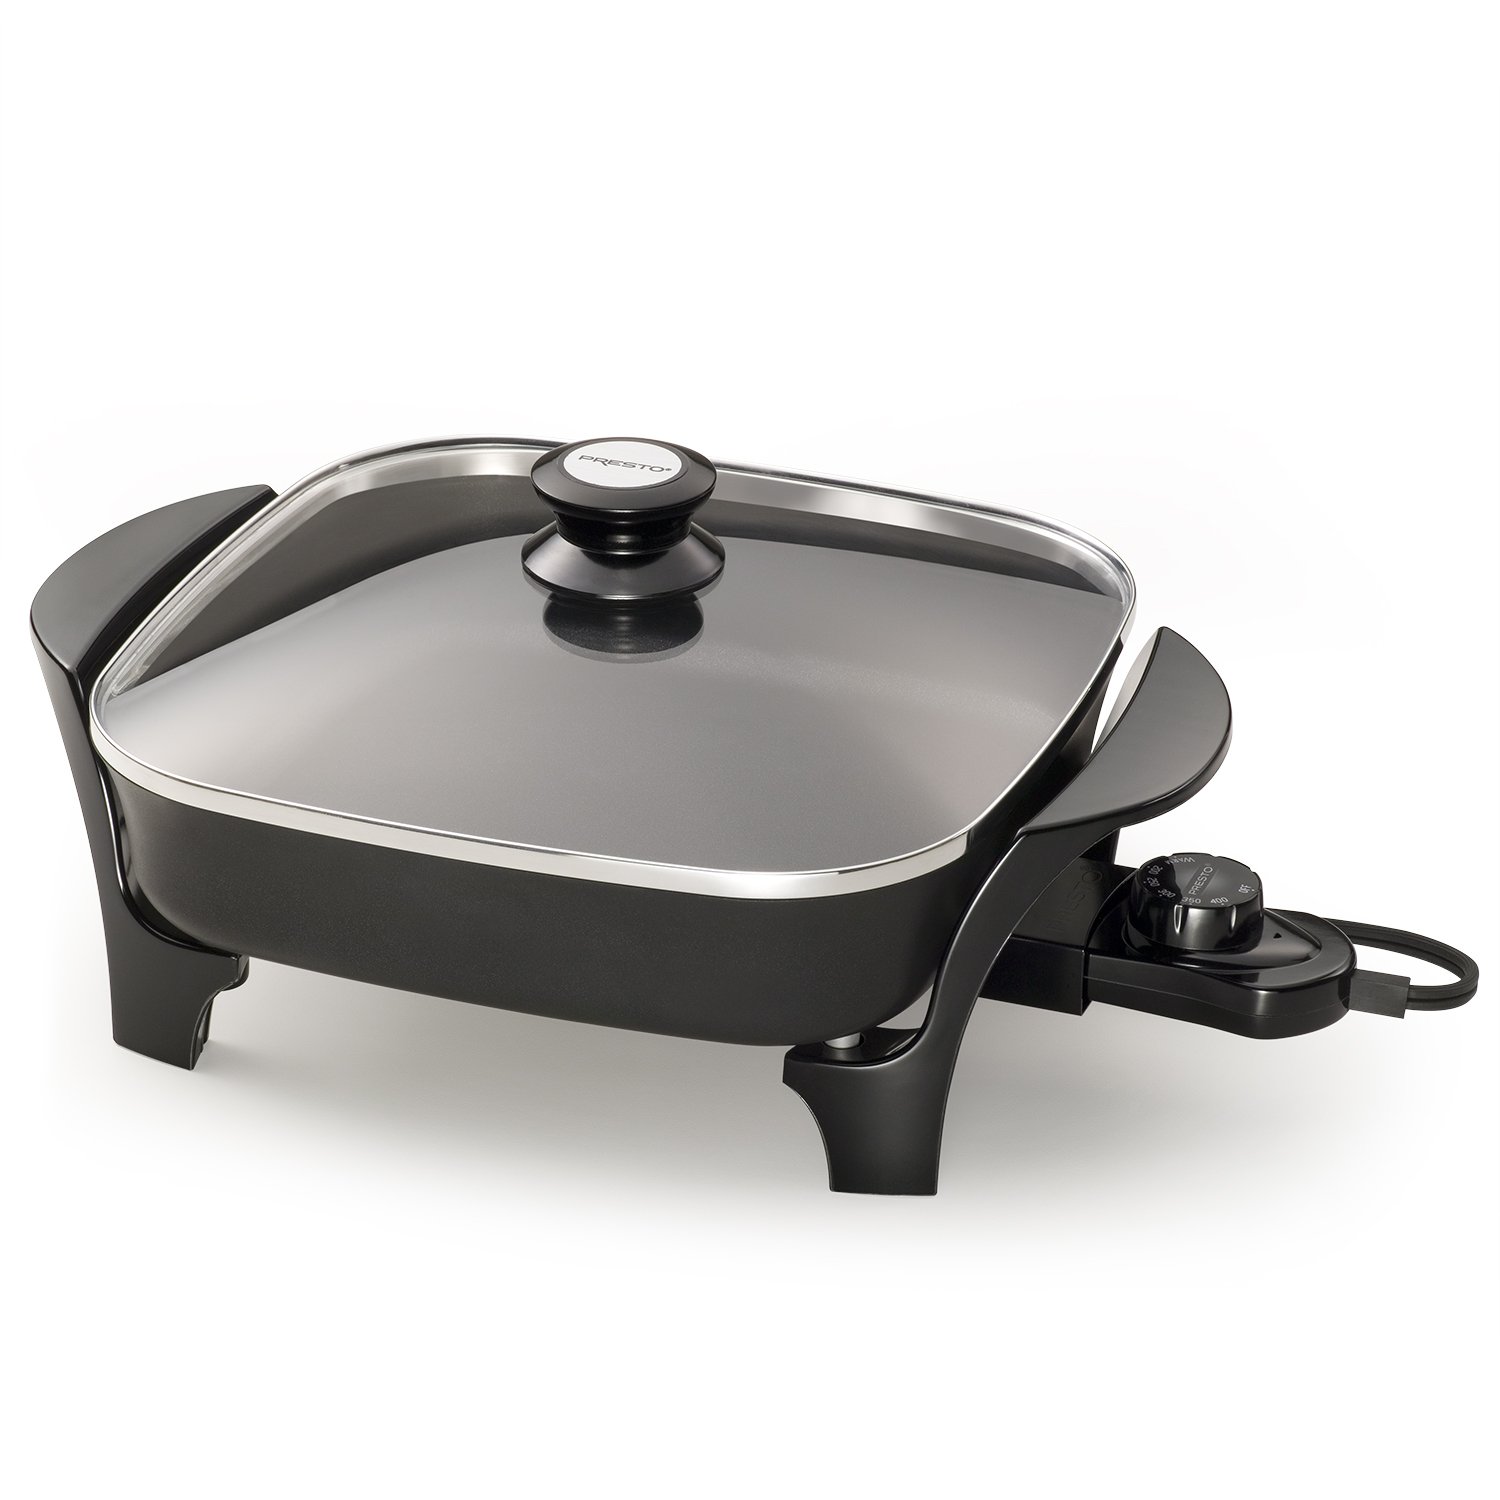
All my recipes can be made either without heating, in the microwave, in a toaster over, or in a skillet like this one:
Recently, I've grown disenchanted with my toaster oven. It doesn't seem to heat things very quickly or very well and the oven part is definitely kaput (none of the recipes can require baking). So everything has been made in the skillet - even the bagel pizzas turned out well in there.

Recipes:
This can be the trickiest part of all. I look for things that have some personalization potential (bagel pizzas, quesadillas, pancakes), can be made with the appliances described above, take less than half an hour to make, and that have kid appeal (dirt cake, pudding parfaits, fudge).

I also want things that the kids can actually do themselves with supervision. So they measure, mix, stir, melt, and flip their own creations.

The Program:
I set up the necessary appliance and the ingredients on a long table. I stand on one side of the table and the kids stand in a circle around the table. Everyone gets to participate in whatever we are making. If we are making a group snack, then everyone gets to measure something and everyone gets a chance to stir or mix. For rice krispie treats, for example, once child measures the chocolate, one measures the butter, we all take turns stirring as it melts, and then one child measures out the cereal. If I have more children, I split each ingredient (three kids put in one cup or cereal each, for example).

It's very important to me that the kids actually do the cooking themselves as much as possible. Otherwise, I might as well just bring them something I made from home!

Budget:
I am lucky to have a budget that can accommodate this program once a month. After the initial investment in the skillet and the toaster oven (never again! Curse you, toaster oven!), I just need to buy ingredients. A Costco membership (my own personal one) has been very helpful. I also try to find recipes that don't include very many ingredients or that have cheap ingredients (or, if I'm lucky, both!). It costs somewhere between $20 and $50 a program, a cost that I can justify by how quickly the sessions fill up and how much fun the kids have when they come. This program is one of the most consistent and well-attended programs for afterschool kids that I have ever done. If it costs me $200 to do it four times, that's almost 200 kids who can (and desperately want!) to participate. That's good math for me.

I've done lots of recipes, but since my blog is very new, I've only got two posts for linking. There will be more soon!
Cinnamon Tortilla Chips and Fruit Salsa
Ice Cream

Have you ever tried cooking with kids? What have you learned?

Wednesday, February 4, 2015

Sweet Snacks: Cinnamon Tortilla Chips and Fruit Salsa

One of the most popular afterschool-programs I run is Sweet Snacks, a cooking program where the kids make their own snacks (sometimes salty, sometimes sweet). This time, we made Cinnamon Crunch Tortilla Chips and Fruit Salsa. 

Usually everyone makes their own individual snacks (even pudding parfaits and dirt cake!) but this time everyone pitched in to make a big batch and we all shared. 

I got the recipe from this book:


Ingredients for the chips:
small flour tortillas
cinnamon 
sugar 
vegetable spray

Some of the kids were the chip makers. I gave them flour tortillas and plastic knives and asked them to cut the tortillas in to triangles. 

We then made cinnamon sugar by pouring sugar into a container, sprinkling it with cinnamon, closing the lid and shaking it up. You can also buy cinnamon sugar already made, but my philosophy with this class is to make as much as possible with the kids since the idea is to be hands-on with what they are eating. 

We sprayed both sides of the triangles with vegetable spray, sprinkled (ok, more like doused) them with cinnamon sugar and put them in the toaster over to toast up. 

In the interest of full disclosure: I do this program twice in a row to accommodate the number of kids who wish to attend. The first group was perfectly happy with the chips as they came out of the oven, but I found they took waaaaay too long to bake and they were still soggy. For the second group, I fried the triangles (far far away from the kids) and then had them sprinkle them with cinnamon sugar after they were brown. These were much crispier. 


The Fruit Salsa

On the other end of our long tables, I set out ingredients for the fruit salsa. 

The book recommends the following ingredients: 
strawberries
banana
apples
kiwis
lemon juice
sugar
nutmeg
cinnamon

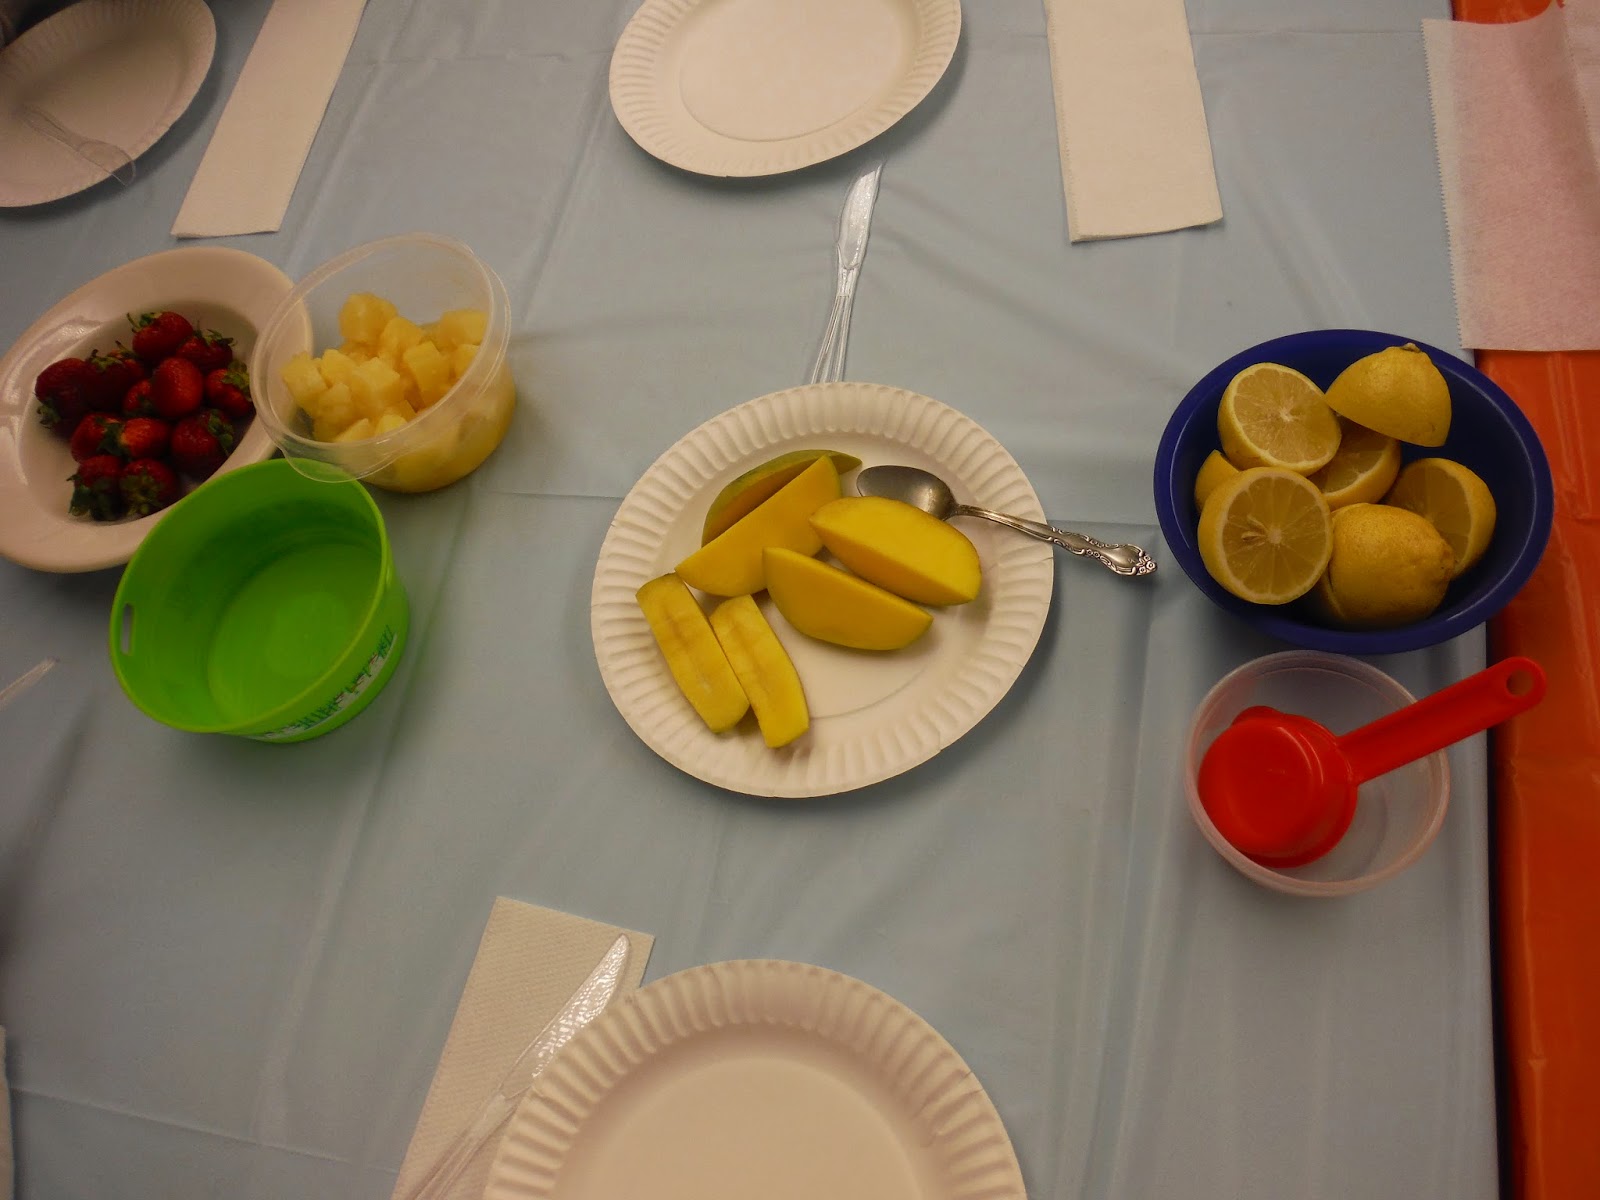
Since not everything was available at my grocery store, I ended up picking fruit that the kids could do something to: cut it, slice it, etc. 

We had kiwis, bananas, canned pineapple, apple slices, mango slices, and pears. I put these out with plates and plastic knives and everyone picked a piece of fruit, sliced or cut it up, and placed it in the big bowls. 

I also put two girls in charge of squeezing lemons for the juice. 

Once all the fruit was ready, we poured the lemon juice over it, sprinkled it with cinnamon sugar (that the tortilla group had made) and mixed it all up. 


Each child was given a fresh plate, some fruit salsa, and some chips. Delicious!

I really enjoyed the collaborative nature of this recipe and the kids loved the results. One mom told me that her son would NOT eat kiwis at home, but he was very much enjoying them in the salsa.

Having fun, trying new things, deliciousness.... Win-win-win.

Thursday, December 4, 2014

Sweet Snacks: Ice Cream

One of my most popular after-school programs is called "Sweet Snacks". Every month we cook something together. I run two sessions with 25 kids each and while it can be a bit of semi-controlled chaos depending on the recipe, it has been a big hit with everyone (and fun for me, too!).

This month, we made ice cream. Not ice cream sundaes. Ice cream itself.

Here's how we did it.

You'll need:
- a quart-sized freezer bag
- a gallon sized freezer bag
- whole milk
- flavoring (your choice)
- ice
- salt


First, put 1/2 cup milk in the quart sized bag. 


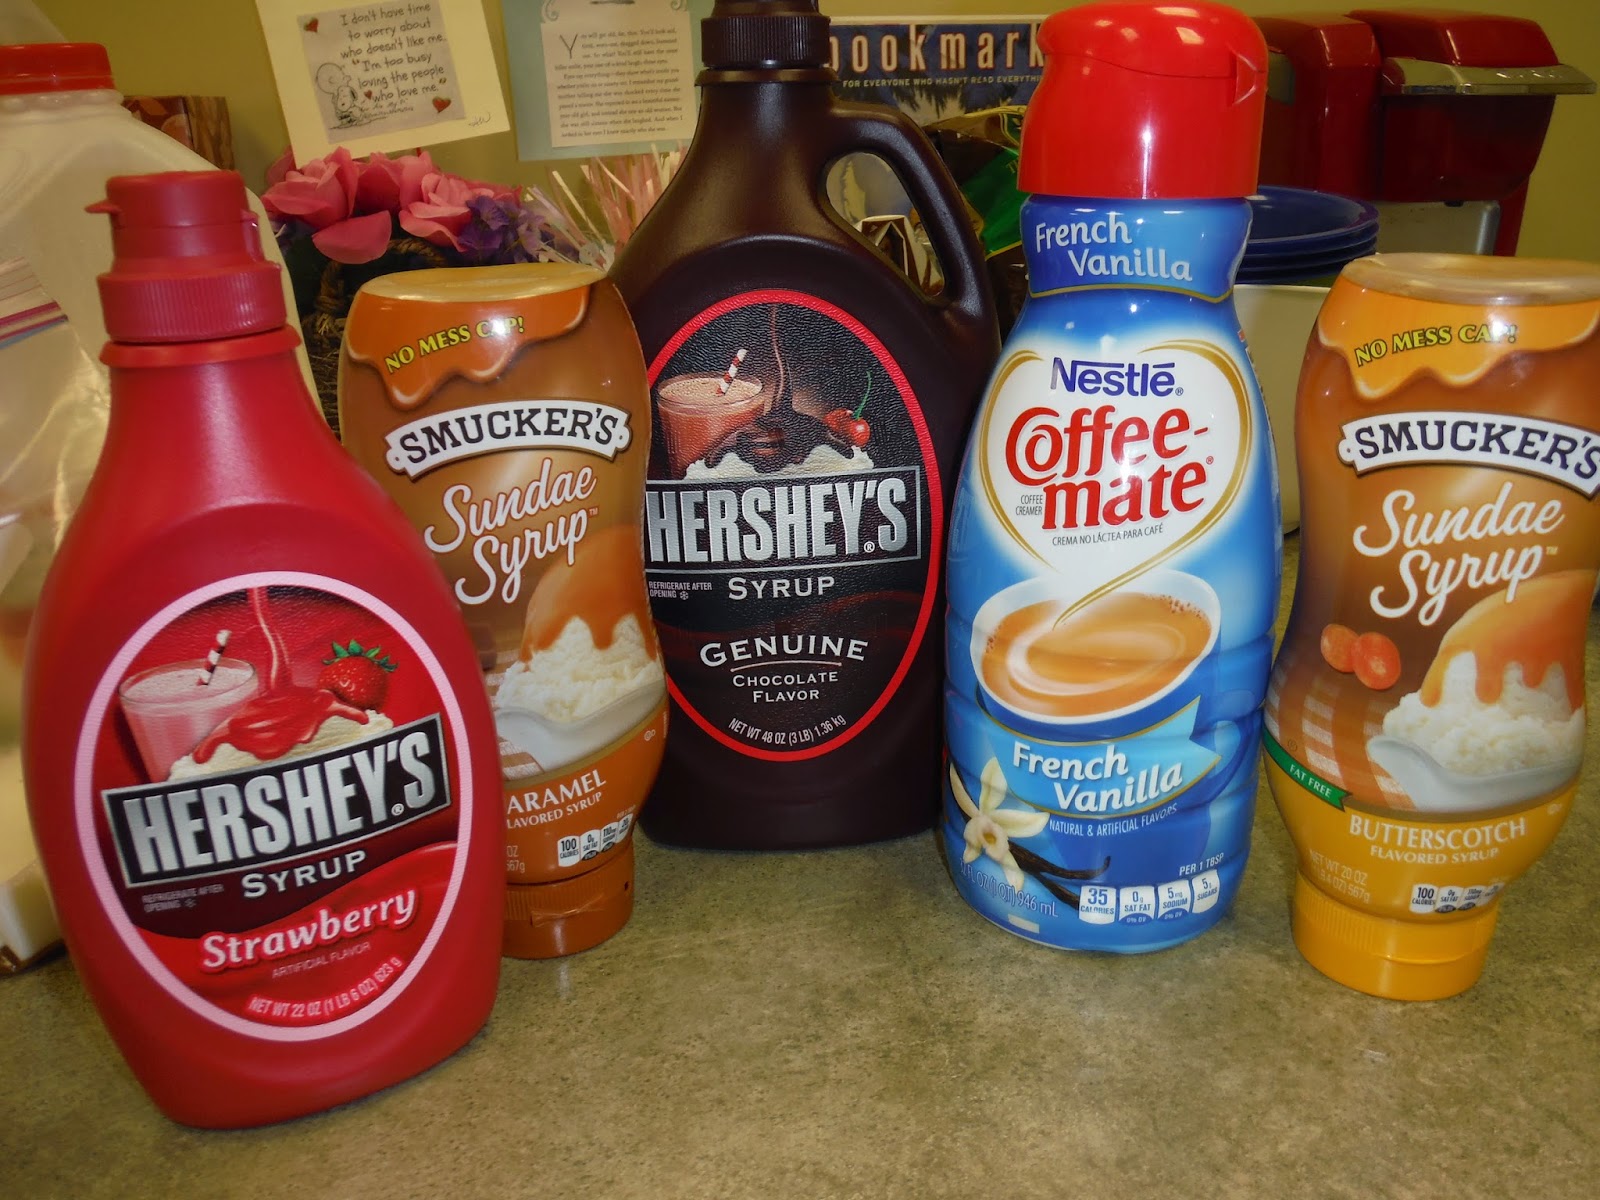
 Add flavoring. You can choose to measure carefully, if you want to, but I tend to just squeeze some in and call it good. Here are the options I had:


Seal the bag tightly. It's super-important for it to stay sealed or else you could get salty ice cream. 

Next, add ice to the gallon sized bag. 


Sprinkle liberally with salt. (more like "Dump some salt in" really)


Place the quart sized bag in the gallon sized bag and seal. 


Shake it! This part is the loud ice-rattling part. 

You'll know you have ice cream when the ice has partially melted and the milk has solidified somewhat. This usually takes about five minutes. You can add more ice or salt if it isn't working properly. 


Take the quart sized bag out of the gallon sized bag and put the contents in a bowl. 
Ice cream!


(You can add extra flavoring on top, if you want). 


A couple of tips: 

- The ice bag gets COLD. You could possibly hand out small towels to put around the bags or you could tell the kids to bring gloves, but trust me, it's cold. Watch out. 

- It's probably best to try to rinse or clean the top of the ice cream bag a little bit since you don't want the salt to come into the bowl as you empty the bag. 

- The ice cream melts quickly; eat it immediately. 

- I had a helper for this program and we made the ice cream assembly-line style. I gave the kids the small bag, the milk, and the flavoring and then they moved down the line to my helper who gave them the ice and the salt. 

Delicious and simple! Yum!

Related Posts Plugin for WordPress, Blogger...