Every once in a while, I like to shake up my storytime crowd and do something different. This time, it was the preschool/toddler obstacle course. I got the idea from The Show Me Librarian originally, and then I looked up some more ideas, considered what I had in stock, and set up my course. In the end, I ended up spending $7 on seven hula hoops and that was it.
It started with a castle at the entrance to the meeting room. I made this castle with the foam squares I bought for my Life-sized Candyland program. I simply made them in to cubes and stacked them up to build a castle.
Right after the castle was the star tunnel. I used the star to make three separate paths so that the kids could explore at their own pace and not have to wait to go through one at time. I put tape arrows on the different arms to designate the paths. I also put tape arrows on the floor as well to guide the kids through the obstacles.
Path 1:
First, the tape line. The idea was to walk on the line and not knock over the blocks. Some kids did this, some enjoyed knocking over the blocks on purpose, and some just started building with the blocks.
 |
| The tape line. |
The Big Tunnel. I put chairs out and hung sheets over them.
 |
| The Big Tunnel. Not pretty, but fun. |
The Stuffed Animal hop. I put out four stuffed animals and encouraged the kids to jump over them. Some did, some just liked the carry the animals around.
 |
| Stuffed Animal Hop. |
Path 2:
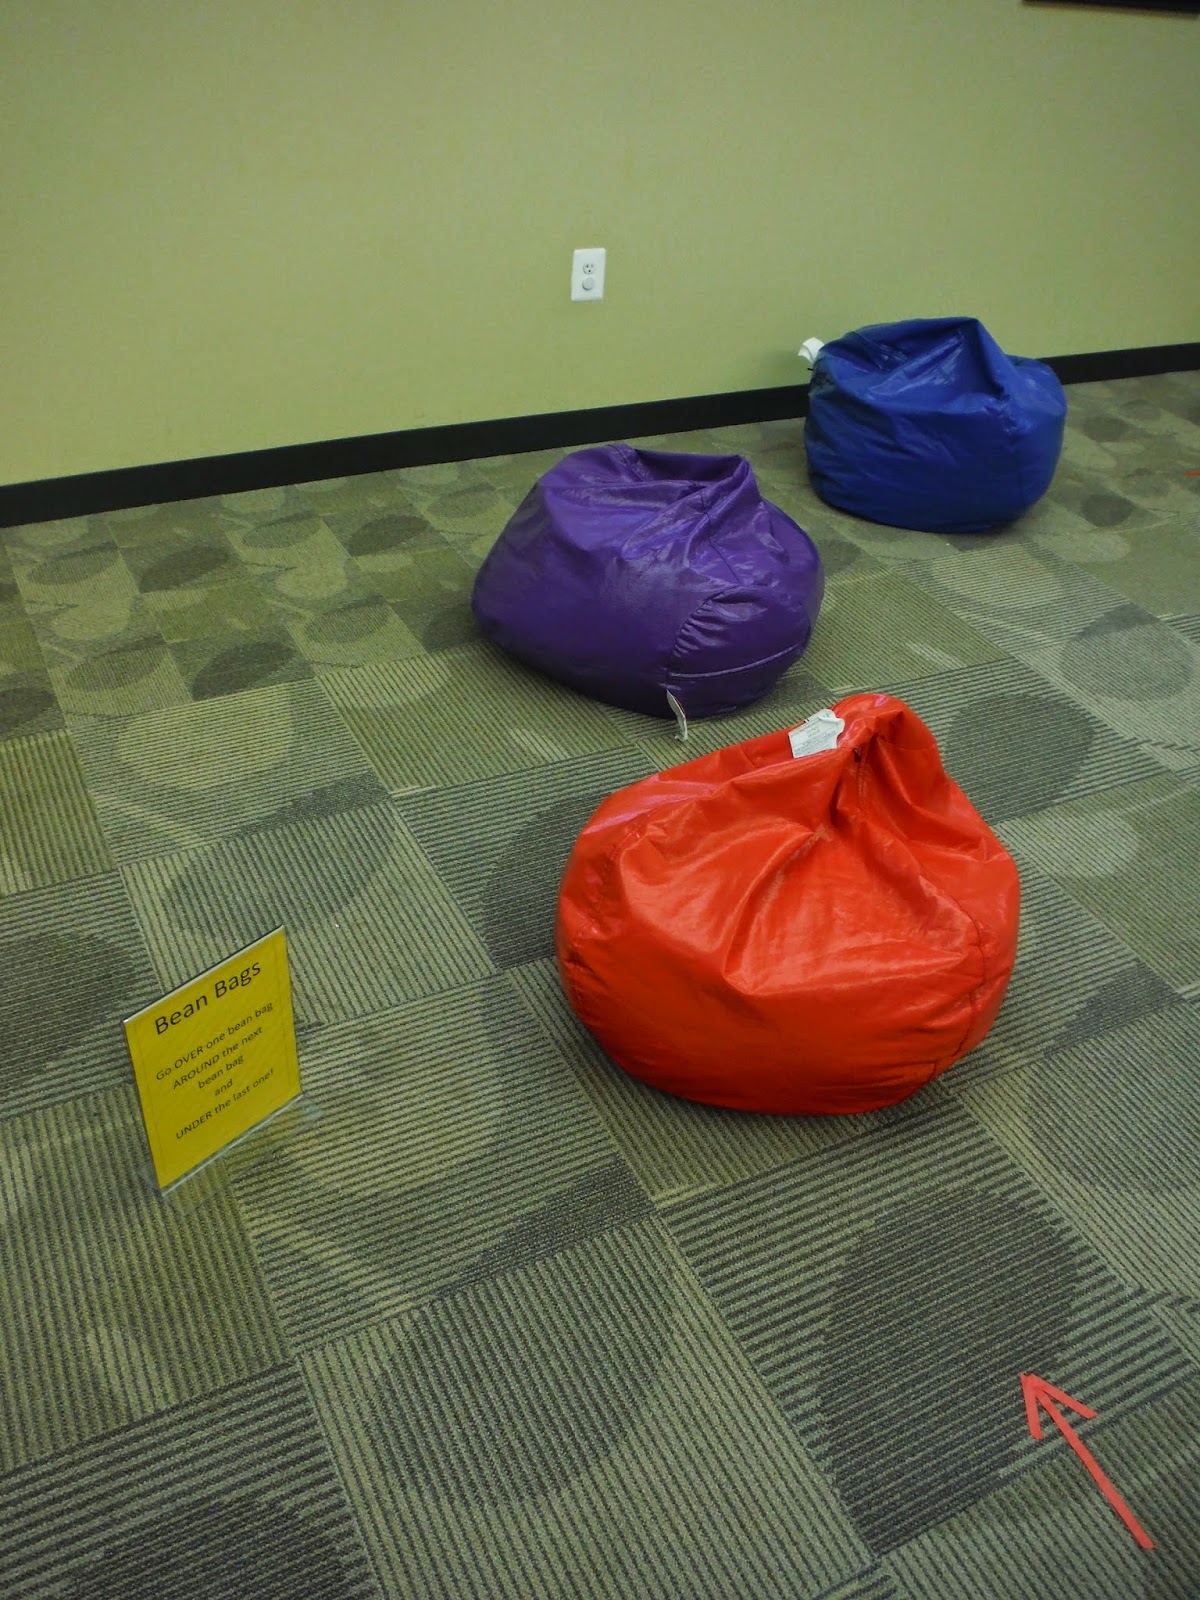
The Bean Bags. The idea was for the kids to go over the first one, around the second one, and under the last one. The toddlers just clambered over them while the preschoolers really got into this. One kid said "I can't go under it!" so I demonstrated one way to do it and by the end, the kids were exploring all sorts of options.
 |
| Bean Bags |
Hula Hoops. Hop through the hula hoops.
 |
| Hula hoops |
The tape line. Putting one foot in front of the other, the kids walked the tape line.
 |
| The tape line |
Path 3:
The Bean Bag Toss. I put out a hula hoop, put a tape line on the ground, and put some bean bags in a bucket next to it. I encouraged the kids to throw three bean bags into the hoop. Most kids threw them all in. Why not? Bean bags are fun.
 |
| Bean bag toss |
Over Under. I put eight chairs in formation and put tape lines on the bottom and the top of the chairs and had the kids climb through. I had to replace the tape lines a few times, but I preferred tape to yarn because if they did get caught then it would rip off instead of tangling them up.
 |
| Over Under |
Block Stacking. I have some cardboard brick sets with bricks of different sizes (also featured in the tape line at the beginning) so I took the small bricks and challenged the kids to build the tallest tower they could. They had fun building them and knocking them down.
 |
| Block Stacking |
The Foam Tunnel. I used my remaining foam blocks to make a big block tunnel. It was a last minute addition, but the kids really enjoyed it.
 |
| The Foam Tunnel |
I did the program on Tuesday morning when I have a Toddler Storytime followed by a Preschool Storytime so that the course could be used by the maximum number of kids. The kids didn't always take the paths or use the obstacles the way I had planned, but they had a great time learning gross motor skills and I enjoyed doing something different for a day.


