Showing posts with label Crafts. Show all posts

Monday, October 24, 2016

Sewing School

I've had sewing workshops with the older kids in the past (ages 10 and up), but due to much wailing and gnashing of teeth from a very very interested younger crowd, I decided to do a sewing class for slightly younger kids this fall. And so Sewing School, a monthly sewing program, was born. 

For the first session, I wanted to get them familiar with the basics of sewing before we started our projects.  

Everyone had a piece of flannel with a needle in it to begin with. I taught them how to thread the needle and tie a knot at the end of the yarn. Then we practiced a simply running stitch on the flannel. 

Once they were comfortable with that, we moved on to the projects: pillows with buttons and lace. 

First, they picked their fabric, the lace they wanted, and the buttons (if they wanted buttons). They cut the fabric to size using sheets of cardboard that were approximately 9x12. 


Then they used the running stitch to attach the ribbon/lace to their pieces. 


Finally, they placed the pieces right-side-to-right-side and sewed them together. 


Then stuffing and closing and TA DA! Pillows! 


The younger kids (I had ages 8-12) did remarkably well with the project and I got ALL of the needles back! (Miracle of miracles). I set the program at 90 minutes, but we probably could have used the full two hours once you factor in the waiting time to untangle thread and troubleshoot crooked projects.

The kids were very proud of their pillows, though, and excited to be involved.

Tuesday, October 27, 2015

Sugar Skulls for Dia de los Muertos

Last October, I did a pumpkin palooza program that was fun for the whole family. This year, my town was putting on a Halloween/pumpkin thing, so I decided to take my October in a different direction: I made Dia de los Muertos sugar skulls with my tweens. 

I took a lot of instructions and ideas from this website and I highly recommend you check them out. I didn't try another type of meringue powder - I just straight up ordered the one they recommended - but it worked like a charm so I'm willing to believe their expertise on pretty much everything here. 

Anyway, I bought myself one of these pans and the right meringue power and was ready to rumble. Oh, and sugar. LOTS of sugar. Like, a huge bag from Costco. 

I started prepping two days beforehand. I figured that would give me time to find alternate solutions just in case everything fell apart. The Mexican sugar skull ladies knew what they were talking about, though, and it all worked like a dream. 

So first, I made the skulls: 


I had 25 kids signed up for the program and I made 30 skulls just in case. 

Once they came out of the mold, I just let them air dry. 

The pan I bought would have allowed a front and back of the head, but I decided it was too much trouble to do all the scooping, etc., that the sugar skull ladies recommended for large skulls, so I stuck with just the fronts. 

On the day of the program, I made a bunch of frosting in bags and put out sprinkles and mini chocolate chips.

Rubber band the back of the bags! You would not believe how much frosting kids
can squeeze out the back of the bag if you don't! (Yes, this is bitter bitter experience talking, here)

Then I let them go at it. 


I wanted to give the kids a chance to make skulls themselves, so I bought one of these candy molds and had four kids come up at a time to make their own tiny skulls. We mixed the sugar, the meringue powder, and the water and pressed it into the molds. Then we popped them out and I put them out to dry by a fan. 


I was hoping the small size plus the fan would be enough to dry them in an hour, but results were varied. Some worked, some fell apart completely. I did feel it added to the program, though, so I would probably do this again despite the number of crushed skulls. 

This tiny decorated skull had "Princess Leia buns" according to its creator,
but I can't help but see Carmen Miranda. Just me?
All in all, it was a fun program that yielded pretty spectacular results. 


As far as consumability: I told the kids that everything was technically edible, but that it probably wasn't a good idea to eat it considering how long it had been out in the open air. They also learned first hand that the skulls were maybe not the cleanest things when they dug their hands into the sugar mixture to make the mini skulls. 

Feliz Dia de los Muertos! May your carpets remain frosting free!

Thursday, October 22, 2015

Frankentoys

I was cleaning out the office closets at the end of the summer and came across two bags of stuffed animals that someone had donated. Which got me thinking. 

Then we had a town-wide garage sale event (I bought an enormous stuffed bear for the kids to read with for, like, $1) and I figured this was it: it was time to chop up those toys in to FRANKENTOYS!

The set-up for this program was quite simple: the toys, some good scissors, some needles and thread, whatever embellishments I had laying around, some extra stuffing just in case, and hot glue. The program was for 10 and ups, so I was comfortable that they could use the glue gun on their own. 

There was only one rule: if you cut something, you had to have a plan for it. No just ripping in to things willy-nilly. 

At first, it seemed like this rule wasn't going to be necessary. In fact, the entire program teetered on the brink of disaster when the girls started picking up stuffed animals, dubbing them CUTE!! and mourning any cutting that might have to be done. It didn't help that the newspaper reporter who had come (entirely of her own volition - I really am lucky! And that wasn't sarcastic - I consider myself very fortunate to have proactive photo takers!) kept saying "are you really going to cut that one?"

But then. Oh.... glorious then. 

Someone cut one. And then someone else cut another one. And then another one. And suddenly, the whole thing snowballed into one big cutting, gluing, un-stuffing frenzy. I found myself repeating the rule a few times to prevent mayhem.

Some of the results:

Headless by choice, thank you very much.
That tree? Is glued to his butt. Also, he's on wheels. 
That fish head is a measuring tape that comes out when you yank it.
Glorious does not begin to describe it. 
The head-swap twins. 
  
Cerberus. Three headed with yeti arms and a cape
Even I, the queen of anthropomorphising everything under the sun, got in on the action.

Especially when this yeti lost his arms to Cerberus.

Doesn't he look just completely bewildered and depressed about his missing arms? 
 I had to make it better.

So I did:

Less flummoxed, more "dear god, why!!"
Each participant ended up taking home 2-3 toys in the end.

And the thought of what might happen to their toys at home after this program... Yeah, it keeps me up nights.

Monday, September 28, 2015

Rock Your Locker!

Some of my tweens just started middle school this year which means: LOCKERS! So I wanted to give them a chance to make their own locker decorations.

This program is pretty flexible with regards to content. The only thing you absolutely need is magnets. Everything else is negotiable; that is to say, the projects that go on those magnets can be pretty much whatever you can make with what you have on hand.

Here's what we made:

1 - Duct Tape Envelopes

Wrap duct tape around a manila envelope and put magnets on the back. These can hold papers, notes... whatever you want. I cut my envelope shorter when I made it so that I could clearly see the papers sticking out of it, but that's a matter of personal preference. Bonus: you can use the top part of the envelope that was just cut to make another folder! Just tape the bottom shut.


2 - Clothespin Clips

We decorated clothespins and then put a strip of magnet tape on the back. These can hold photos, notes, or whatever you want. I had a glitter glue option available, but in the future I'll stick to the jewels, paper flowers, and sharpies. The glitter is just too much mess and takes too long to dry. And I like the flower one better anyway. 


3 - Laminated Letters 

I let the girls (I had only girls this time) use my Lakeshore Learning Die-Cut Machine and a set of capital letters to cut their names out of cardstock. Those were laminated and then magnetized. I had some nice cardstock designs and the girls really liked this one. 

4 - Whiteboards

This was the hit of the session. I had some 4x6 dollar store frames from another project (if you are buying them just for this, though, I'd buy 8x10 to make them a little bigger), so we removed the back, covered it in duct tape, decorated the frame, and put the whole this back together. I had bought some packs of whiteboard markers at the local FiveBelow, so they got one of those, too. 


They were also encouraged to decorate the frames themselves, which they did with gusto.


Magnets on the back and a whiteboard marker makes this a colorful locker whiteboard!

The timing is obviously important with this one and, if I do it again, I'll probably do it a little sooner in the school year just to get that group of kids who are excited by the new year and new school supplies (yes, I was one of them! So many clean new notebooks!). 

Tuesday, September 15, 2015

Fancy Nancy Party!

Bonjour! Welcome to our Fancy Nancy Party!


I had this program on a Saturday, advertised as a family program. I had about 40 girls, one boy, and their adults attend.

We started with snacks:


I found some plastic champagne flutes at the party store and filled them with apple juice. They looked awesome and added an extra special fanciness to the proceedings.

While the girls (and one boy!) were snacking, I read Fancy Nancy to them. We practiced saying "bonjour" and "merci" and "de rien". "S'il vous plait" was a little harder, but we all tried together and everyone made a good effort.

We then moved on to stations (with the option to get more snacks if you wanted).

Stations: 

1 - Elegant Tiaras 


I got the base and the strings for the tiaras from Michaels and then cut out a bunch of shapes from sticky-backed glittery foam. 

2 - Photobooth


This was my second attempt at a photobooth (I also did one for my Frozen sing-a-long) and it didn't work as well as I hoped. I see so many lovely posts about photo booths and yet for some reason my families just don't respond to it. I'm pretty proud of my swirled ribbon background, though. 

3 - Embellished Confections (that's fancy for decorated cookies!)


Plain sugar cookies, pink frosting, and sprinkles. Yum!

4 - Beautiful Bangles (that's fancy for bracelets!)


Lots of beads, lots of colored cord... this one never gets old. I've had people make entire sets of necklaces and bracelets. This is one of my favorite types of activities, especially when other projects are more complicated and take more time. This one is self-explanatory, self-directed, and requires focus and concentration which keeps kids from running amok. 

And it turns out a lovely product that depends very little on skills.

5 - Butterfly Wings

Nancy wears butterfly wings in the book, so we made our own, too.


 I had 12x12 pieces of cardstock onto which they traced the template for the wings. Some sparkly sequins and embellishments added glamour. Then we punched four holes in the wings, threaded the yarn through, and put the wings on. They were lovely.


 6 - Pom Pom Boas


I'm of two minds with this one. On the one hand, it was a LOT of work. I actually involved the circ staff in making the pompoms with me. Then I went home and made a million more myself. And I gave my assistant a whole bunch of yarn to make some as well. So it took four people a significant amount of time to create enough pom poms. But, on the other hand, holy cow, was this one popular. And they came out AWESOME.


What I'd change: I would start the pom poms earlier and get ready whip and not cool whip for the parfaits. Because: sadness (or at the very least total lack of cuteness): 


And I had such cute bowls and spoons, too!

Even though the photo booth wasn't anyone's favorite thing, it did add a nice decorative element. Maybe I'll do it again, but without the labor intensive background.

Why I'd do this again: I liked that the program worked for the princess crowd, but also for the slightly older girls. The average age at the Princess Party was about four and the average age here was about six. Also, the girls (and one boy!) had a blast and learned some French. Tres bien! A la prochaine!

Monday, August 17, 2015

Charm Bracelets for Tweens

I'm always getting ideas from the Klutz books and this time around we made charm bracelets.

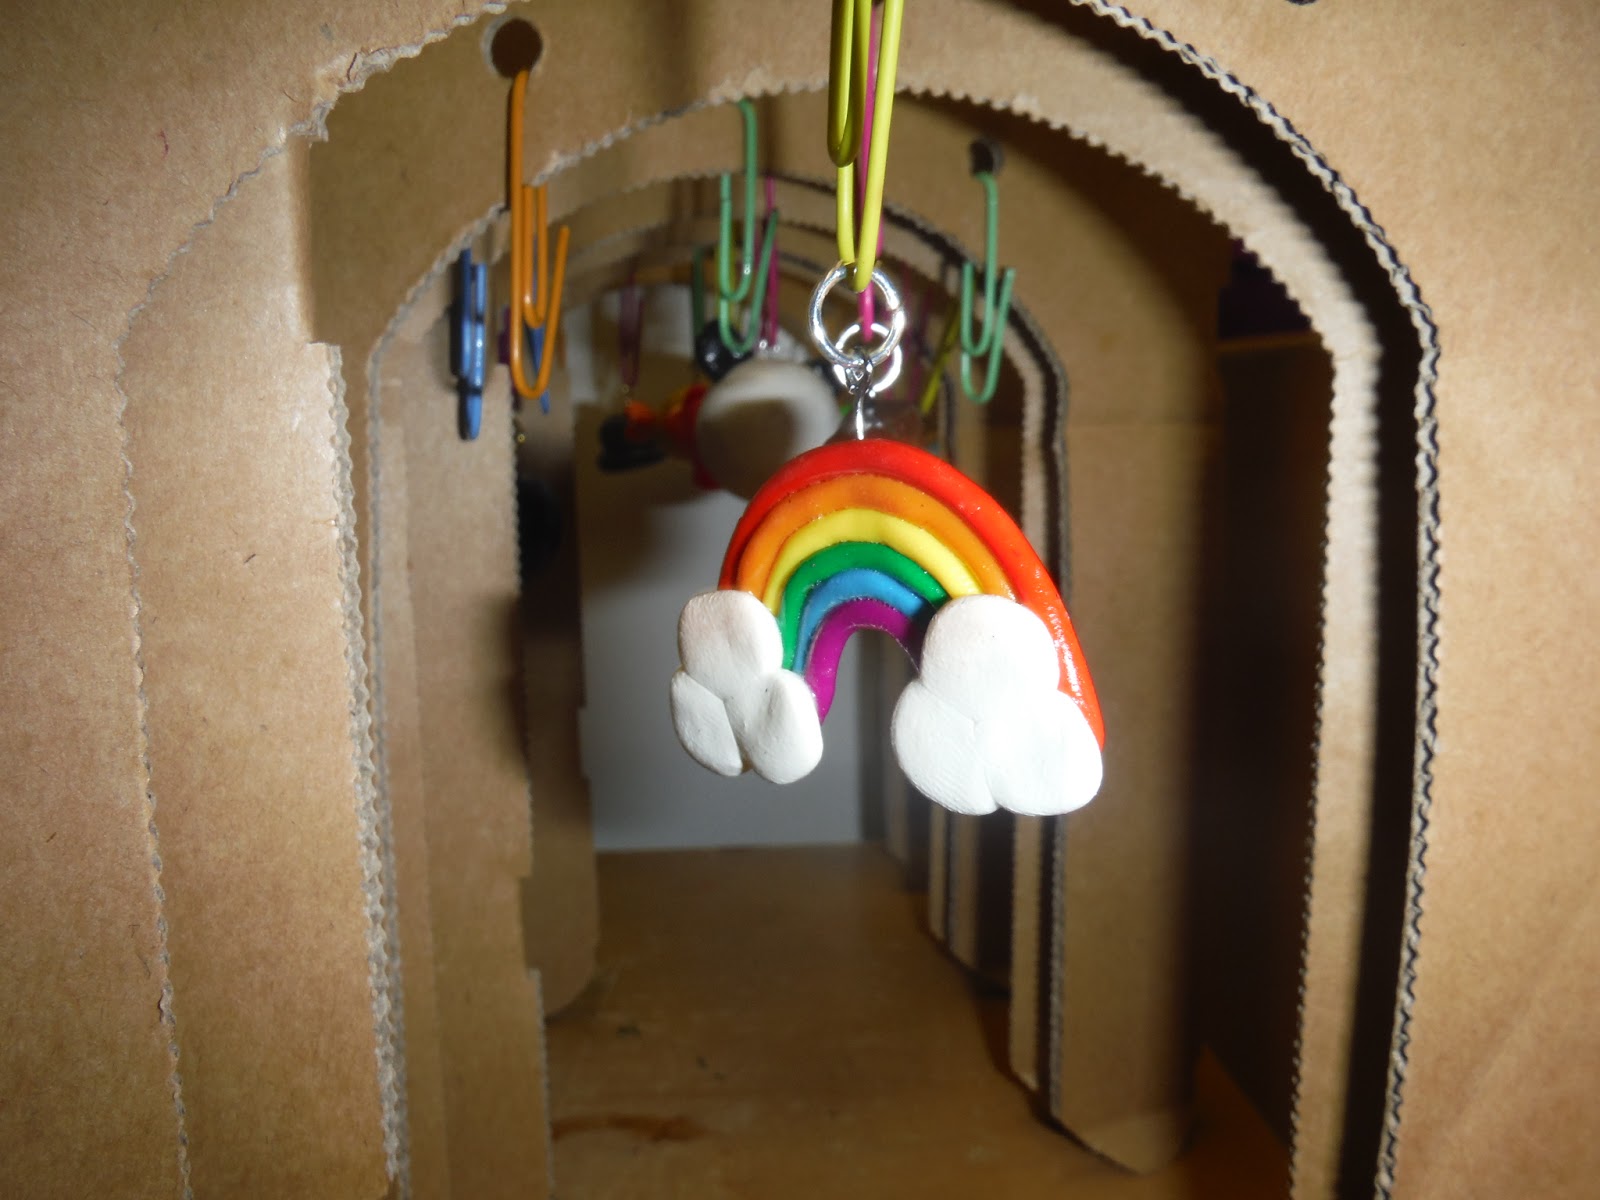
I had the original book, but that didn't have enough materials for my group of 20 kids (ages 10 and up), so I ended up buying 7 yards of bracelet chain, lots of eye pins, jump rings, some hook closures, two jewelry pliers, lots of Sculpey clay, and glaze. My toaster oven, a huge disappointment for my cooking programs, redeemed itself during this program and turned out some lovely charms.

So I put the clay on the tables, made the book available if they needed ideas, and let them go to it.

Here's what I learned:

This program took much longer than I thought it would. I had pre-cut and hooked the bracelets, so those were ready to go (highly recommended) but the actual baking and putting on of jump rings and glazing took forever.

I decided to do the baking in batches and the first batch went in at the ten minute mark, but while I had anticipated making two batches, we ended up making four.

Next time, I'm definitely blocking off 2 hours to get the entire bracelet made.

On the plus side, the results were very cute and individual in the best sense. I think the charms might be too big to comfortably wear on a daily basis, but the kids were very proud of their results.

Gumball machine and moon on the glazing rack. 


Proudly wearing the dragon he designed himself. 

More good news: since I bought the materials more or less in bulk, I have enough stuff to do this again. I definitely will.

Tuesday, August 4, 2015

Piñata Making

This summer I tried something new for me: three day camps. These sorts of things have never worked for me before because I could never count on the kids coming back day after day, but at this particular library, I've been seeing a good repeat rate so I thought I would give it a try. 

The benefit to the camp is that while I'm usually stuck with craft projects that can be finished in an hour, with a camp I could expand the possibilities to include more complex projects. 

Enter: the piñatas. 

Over three days, we papier-mache-d to our hearts' content and then decorated the results. 

Here's a quick breakdown: 
Monday: blow up the balloons and put on the first layer of papier mache. 
Tuesday: add cones and cups with tape then add another layer of papier mache. 
Wednesday: paint and decorate. 

For the record, the piñatas were awesome. 

Also for the record: it's sooooo much messier than you can possibly imagine. God help you if you have carpet. 

One more thing for the record: the kids LOVED it. 

Here are some of the photos I managed to take (when I wasn't in the kitchen mixing up flour and water):  
Adding party hats and cups to the piñatas.

Some kids had a very specific idea of what they were making (the one on the right will become a pig) while others just enjoyed adding points and cups to the basic round shape. 

More layers of papier mache. 


Painting! I also put out a box of fringed tissue paper for a more traditional look. 


Drying. I have a large number of foam squares and I put them all down on the carpet in a corner of the room.
The piñatas dried there every night. 


Would I do it again? Yes, absolutely. Will I make sure to do it right before we are scheduled to have our carpet cleaned. Even more emphatically: yes. 
Related Posts Plugin for WordPress, Blogger...