Several years ago, I found myself having to come up with an afternoon program every day after school. I did pretty much every program I could think of, and eventually started cooking with the kids. It was a smash hit and has been ever since. I've done various iterations of the same idea over the years, and here's what I've learned.
Registration:
In my original library, I didn't register the kids because it would have been a disaster. The registered ones wouldn't come and the one who were there would want to participate and I would have ended up with an empty program and crying children. Instead, I welcomed anyone in. This is risky, of course, since I was never sure how many kids would show up. I found that planning for about 45 kids worked out well (yes, it was chaos... why do you ask? Some day I'll tell you about the time we made egg sandwiches and I bought 96 eggs and had to turn kids away at the door because I had run out of eggs). This method mostly worked out well for everyone.
At another library, however, I did this program without registration and ended up having to cancel the program when a mother (who had sent her child to the library on his own) called to complain that he was lactose intolerant.
Now, I register everyone and require an email address. The day before the program, I email all the parents explaining what we are making and listing the ingredients, making sure parents know exactly what is going in the food. This works well in my current community and we have had no troubles.
Set-up:
I have tried this several ways. When I had the huge number of kids, I had three volunteers who would run three other stations and we ran four concurrent stations, each doing the same recipe. Of course, this meant I needed four of each appliance (more on these in a minute). And four volunteers.
Right now, I am running four sections over two hours with up to twelve kids in each section. This means I only need one of each appliance, but I also need a volunteer who helps me clean things between each group.
Materials:
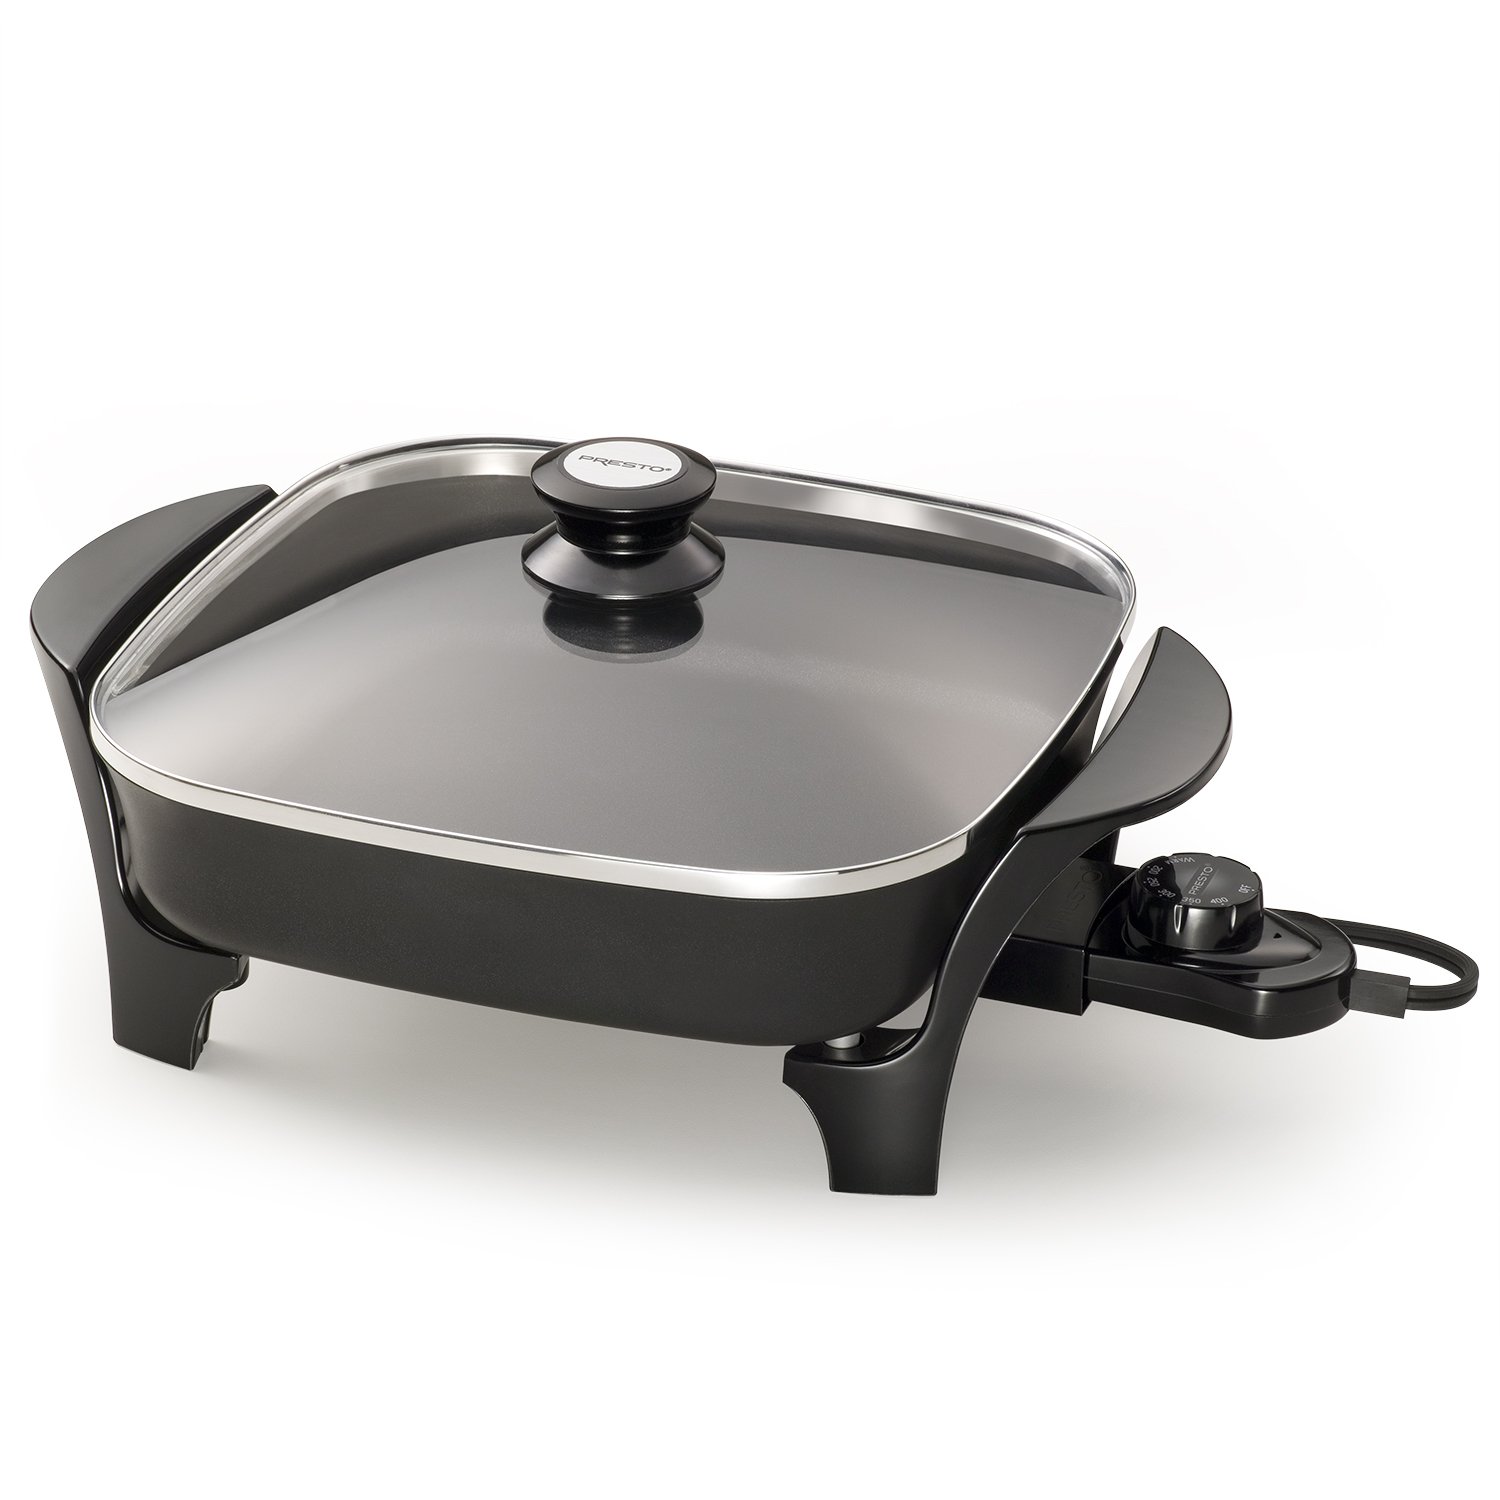
All my recipes can be made either without heating, in the microwave, in a toaster over, or in a skillet like this one:
Recently, I've grown disenchanted with my toaster oven. It doesn't seem to heat things very quickly or very well and the oven part is definitely kaput (none of the recipes can require baking). So everything has been made in the skillet - even the bagel pizzas turned out well in there.
Recipes:
This can be the trickiest part of all. I look for things that have some personalization potential (bagel pizzas, quesadillas, pancakes), can be made with the appliances described above, take less than half an hour to make, and that have kid appeal (dirt cake, pudding parfaits, fudge).
I also want things that the kids can actually do themselves with supervision. So they measure, mix, stir, melt, and flip their own creations.
The Program:
I set up the necessary appliance and the ingredients on a long table. I stand on one side of the table and the kids stand in a circle around the table. Everyone gets to participate in whatever we are making. If we are making a group snack, then everyone gets to measure something and everyone gets a chance to stir or mix. For rice krispie treats, for example, once child measures the chocolate, one measures the butter, we all take turns stirring as it melts, and then one child measures out the cereal. If I have more children, I split each ingredient (three kids put in one cup or cereal each, for example).
It's very important to me that the kids actually do the cooking themselves as much as possible. Otherwise, I might as well just bring them something I made from home!
Budget:
I am lucky to have a budget that can accommodate this program once a month. After the initial investment in the skillet and the toaster oven (never again! Curse you, toaster oven!), I just need to buy ingredients. A Costco membership (my own personal one) has been very helpful. I also try to find recipes that don't include very many ingredients or that have cheap ingredients (or, if I'm lucky, both!). It costs somewhere between $20 and $50 a program, a cost that I can justify by how quickly the sessions fill up and how much fun the kids have when they come. This program is one of the most consistent and well-attended programs for afterschool kids that I have ever done. If it costs me $200 to do it four times, that's almost 200 kids who can (and desperately want!) to participate. That's good math for me.
I've done lots of recipes, but since my blog is very new, I've only got two posts for linking. There will be more soon!
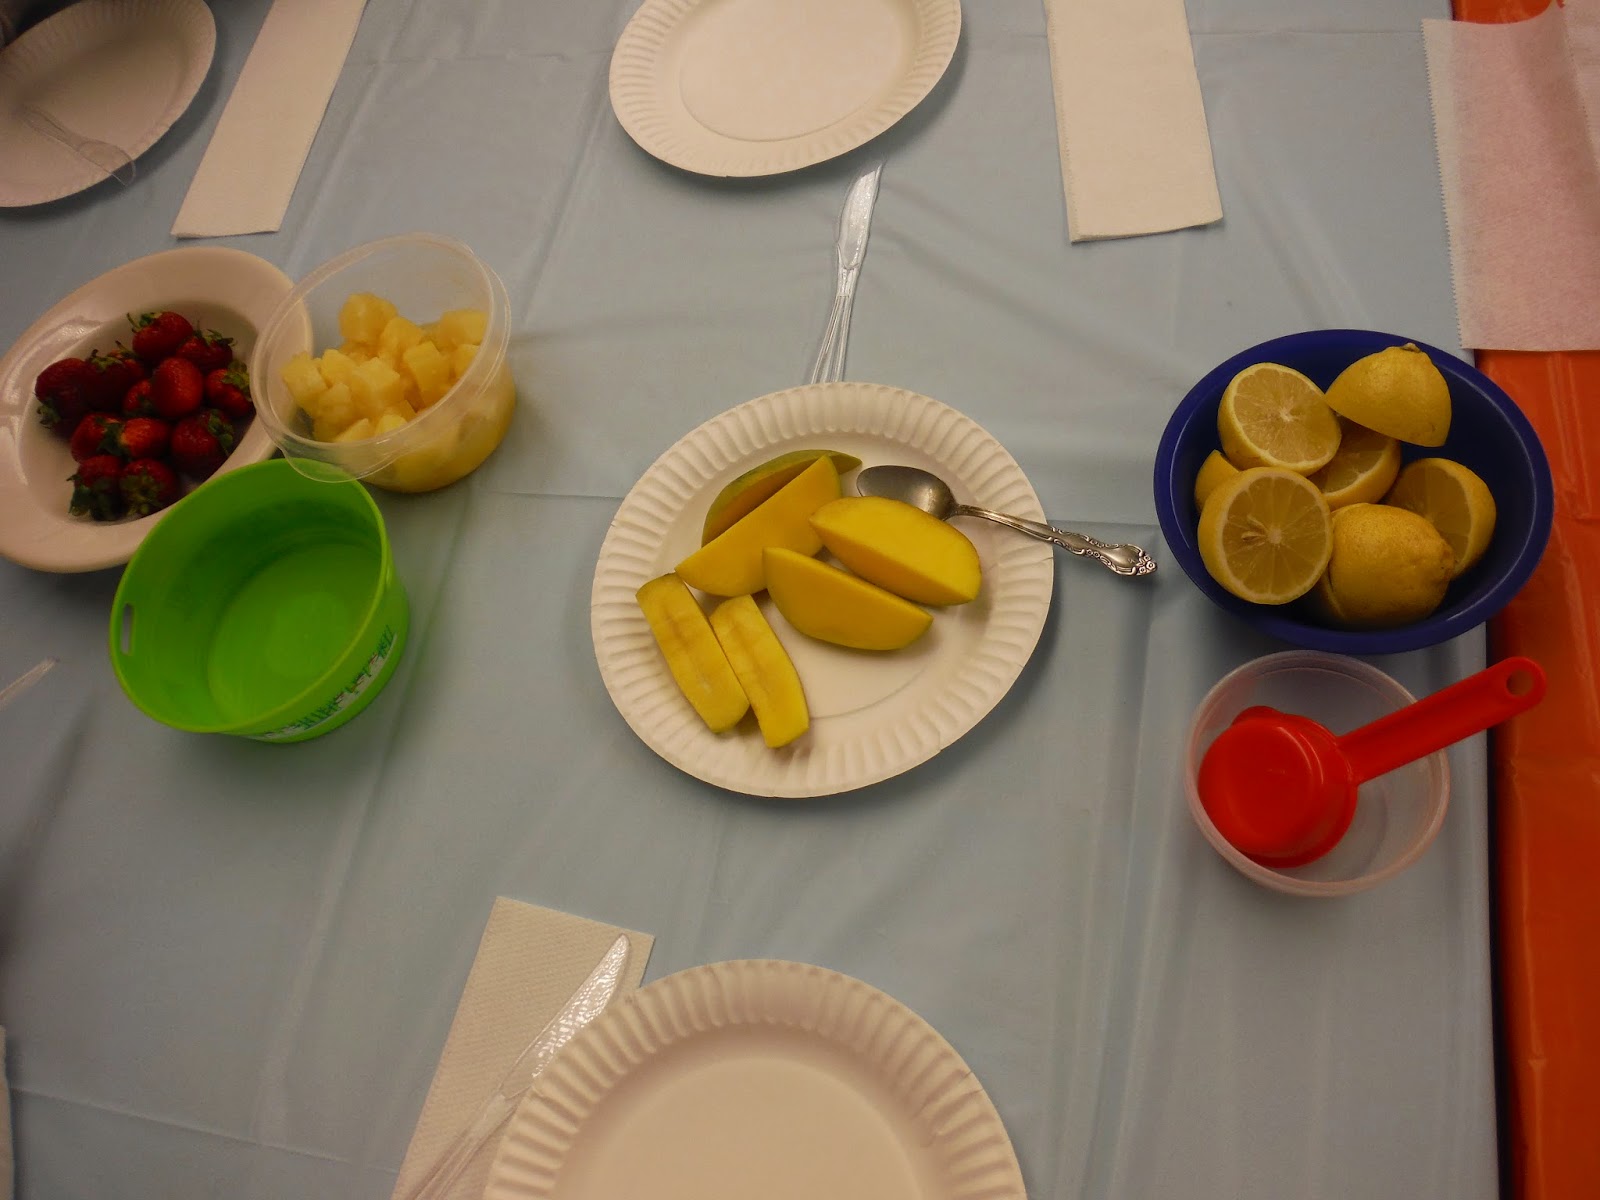
Cinnamon Tortilla Chips and Fruit Salsa
Ice Cream
Have you ever tried cooking with kids? What have you learned?