Wednesday, December 10, 2014

Gingerbread Houses

A favorite holiday-ish program at my library is the annual Gingerbread House insanity program.

You'll need a metric ton (exact measurement!) of:
  • graham crackers
  • frosting
  • candy
Metric ton of candy.
I try to get candy that would look good on houses (gumdrops, mike and ikes, skittles, m&ms, etc.), some mini candy canes, and this year I added mini marshmallows and gummy bears. The kids loved the gummy bears - there were a few gummy Santas on very cleverly engineered candy sleds. We also had some mini pretzels left over from Pumpkin Palooza that made lovely fences and windows.

I do two sessions of the program back to back and sign up 45 kids for each. With no-shows this year, I ended up with 79 total kids plus parents.

Before the day of the program, I cut out lots of small cardboard squares and covered them with tin foil to make the bases.

The day before the program, I made frosting. I use two different frosting recipes. The first is for constructing the houses and is super strong (I use this recipe). I put this frosting in disposable piping bags to make it easier to put frosting on the base and up the walls. Some people use ziploc bags with the corners cut out, but that has never worked for me. I did put rubber bands on the piping bags, though, to keep the kids from squeezing the icing out of the back.

I also make Betty Crocker vanilla icing and put that one in bowls with plastic knives. It's a lot softer, but it works well for the decorations (and on the plus side it's a lot tastier).

I'm not going to sugar-coat this (haha): I made tons and tons and icing. I ended up with 30 bags of piping frosting and four enormous bowls of the vanilla icing and I didn't have very much left over when it was all over. On the plus side, I spent the program refilling candy and helping kids with their houses instead of making more and more frosting like I did last year. Much better all around.

The kids get a cardboard base and six graham squares (three long crackers halved) and then they get to work. A note on the graham crackers: I used Honey Maid low fat because they are stronger and less likely to crumble than the full fat versions. When I had cleaned the store out of that particular variety, I bought some store brand and my volunteer remarked that they seemed even hardier.

I make a brief announcement at the beginning of the program explaining the frosting in piping bags (and reiterating that frosting is not an infinite resource) and I always make sure to say "even if it falls down, it's still delicious!" So far, there have been no tears and no complaining even when some of the roofs turned out to work better flat.

And now, the gallery!


This program fills up by early November and is a crowd pleaser and family favorite (everyone appreciates not having to make these - and clean them up - in their own homes). 

Thursday, December 4, 2014

Flannel Friday: The Mitten

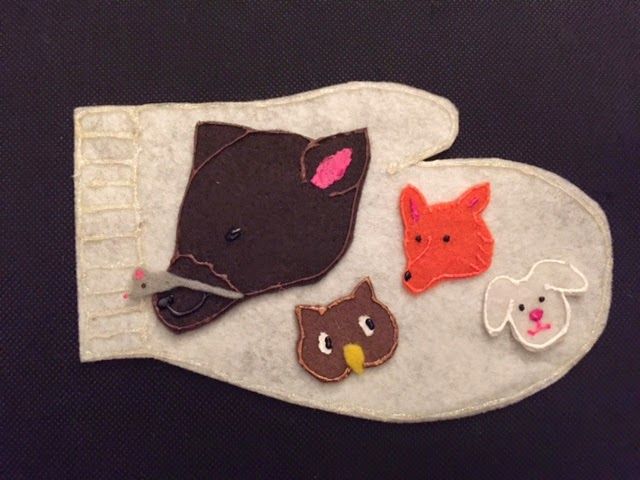
Inspired by the Jan Brett book, here is "The Mitten." 

Our little boy starts off with two white-as-snow mittens. 


When one of them gets dropped in the show, a rabbit takes interest...


... and crawls into the mitten.


An owl comes by and also takes interest...


... and squeezes into the mitten. A fox comes by...


... and squeezes into the mitten. Then a bear takes interest...


... and he, too, makes his way in to the mitten. Then along comes a mouse...


... who doesn't really fit, but the animals let him try. He ends up on the bear's nose...


... which causes the bear to SNEEEEEZE!!! and all the animals go flying out of the mitten and make their way home. And that's why the little boy has two mittens that look like this:


I have used this story with younger crowds (2-3 years old) and leave it at the flannel. The kids tend to love the giant sneeze and the fun sound effects I make for the animals making room in the mitten and crawling in.

With a slightly older group (4 or 5 and up), though, I start off by using the flannel to tell the story. Then I ask them to help me retell the story. I ask two children to be the mitten in the snow. They stand up and hold each other's hands. Then I ask for a volunteer to be each animal that crawls into the mitten and these volunteers fit themselves between my two mitten-ers. The mitten must expand, of course, until my two mitten-ers are barely hanging on (bursting at the seams, as it were).

The kids huddle together for the "aaaaahhhhh" then move out a bit then "aaaaaahHHHHH" again and finally "AAAAAAHH-CHHOOOOO!!!!" that sends all the kids flying around and back to their places. I help this along by calling out their animals and saying things like "Then the bear fell to the ground and trundled home" and "Then the mitten fell to the ground where Peter picked it up again to carry it home". It helps encourage them to settle down.

I've found it helps to do this story last in the storytime and go directly into the goodbye song. It definitely ends the session on a good note.

Sweet Snacks: Ice Cream

One of my most popular after-school programs is called "Sweet Snacks". Every month we cook something together. I run two sessions with 25 kids each and while it can be a bit of semi-controlled chaos depending on the recipe, it has been a big hit with everyone (and fun for me, too!).

This month, we made ice cream. Not ice cream sundaes. Ice cream itself.

Here's how we did it.

You'll need:
- a quart-sized freezer bag
- a gallon sized freezer bag
- whole milk
- flavoring (your choice)
- ice
- salt


First, put 1/2 cup milk in the quart sized bag. 


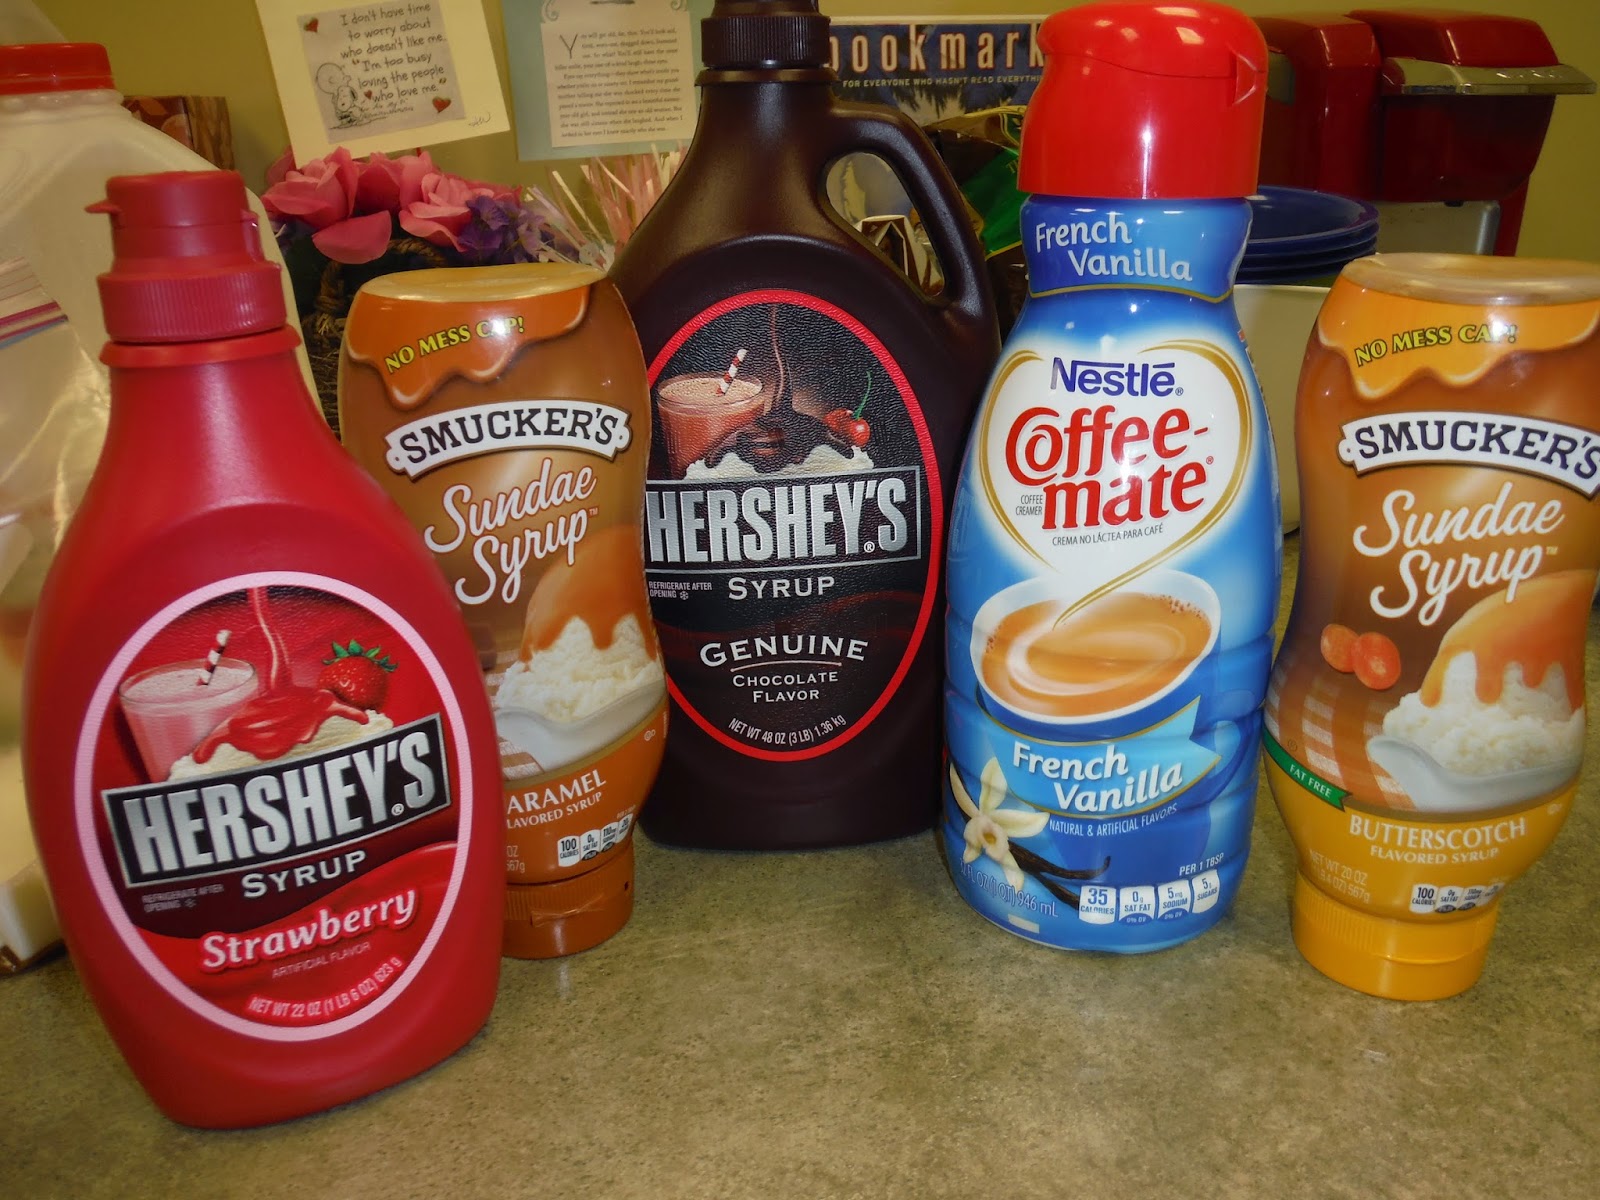
 Add flavoring. You can choose to measure carefully, if you want to, but I tend to just squeeze some in and call it good. Here are the options I had:


Seal the bag tightly. It's super-important for it to stay sealed or else you could get salty ice cream. 

Next, add ice to the gallon sized bag. 


Sprinkle liberally with salt. (more like "Dump some salt in" really)


Place the quart sized bag in the gallon sized bag and seal. 


Shake it! This part is the loud ice-rattling part. 

You'll know you have ice cream when the ice has partially melted and the milk has solidified somewhat. This usually takes about five minutes. You can add more ice or salt if it isn't working properly. 


Take the quart sized bag out of the gallon sized bag and put the contents in a bowl. 
Ice cream!


(You can add extra flavoring on top, if you want). 


A couple of tips: 

- The ice bag gets COLD. You could possibly hand out small towels to put around the bags or you could tell the kids to bring gloves, but trust me, it's cold. Watch out. 

- It's probably best to try to rinse or clean the top of the ice cream bag a little bit since you don't want the salt to come into the bowl as you empty the bag. 

- The ice cream melts quickly; eat it immediately. 

- I had a helper for this program and we made the ice cream assembly-line style. I gave the kids the small bag, the milk, and the flavoring and then they moved down the line to my helper who gave them the ice and the salt. 

Delicious and simple! Yum!

Wednesday, December 3, 2014

Preschool Science: Measuring

Today in Preschool Lab we tackled measuring. I was going to do both weights and measures, but I forgot my kitchen scale at home (and may have said some choice words when I discovered that....) so I decided to simply go with measuring with inches and cups. We can do weights another time.

(Side note: I did have a bathroom scale available to me because my library has one, but it wasn't sensitive enough to weigh a book, so it wasn't going to work for this program. And while we did measure how tall we were - see below - I thought it probably wouldn't go over as well to have people weigh themselves...)

I started off by talking about how big and small things can be compared by measuring them. Then I pulled out a ruler and had the kids identify it and tell me what it was for.

Time for a book! I used one of my all time favorites: Actual Size by Steve Jenkins.


It was a perfect book because 1) it's awesome and 2)we could use the ruler to measure things in their actual size as well. That page that has the shark teeth? It says that a shark's teeth are four inches long, so we measured them with the ruler and by gum (is that a pun?), they were!

We also measured the tiny lemur monkey and the gorilla's hand which led to  measuring all our hands and feet. (Mine were the biggest. Who knew?)

Then it was station time! The stations broke down into two kinds: the ones that measured with rulers and the ones that measured with cups and spoons.

Stations: 

I borrowed the measuring stations from Storytime Katie (Thank you for your brilliant ideas!). I put out stuffed animals and had the kids measure how tall and how long they were. I also had a worksheet that they could fill out if they chose.


The one problem with this station is that the kids wanted to take the stuffed animals home! 

The second measuring station was about measuring how tall each kid was. I put the heights of various animals up on the wall. I tried to find animals that went from very short (a fox) to very tall (a horse) with lots of variety in the middle so kids could find where they fit in to the lineup. 

They stood up agains the wall (ideally between an animal that was shorter than they were and an animal that was taller than they were) and we put a piece of tape on the wall right by their head. Then we measured how tall that piece of tape was and put a name tag with their name and height right by the tape. Here's the wall with just the animals: 


And a close-up of the wall with some of the kids' name tags.


The last ruler/inches measuring station was a stand-up rainbow. The kids were given strips of construction paper to measure and cut along with the measurements of each color (each color was an inch shorter than its predecessor as you move through the colors of the rainbow). They cut each color then lined up the edges and stapled them to create a standing rainbow.


One of the moms accidentally used the centimeter side of the ruler which is why you see a tiny rainbow there, too. It worked surprisingly well.

For the cup/spoon measuring, we did had two different stations.

First, I put out containers with rice and a bunch of measuring cups and spoons. The "instructions" just encouraged the kids to explore scooping and dumping. I also added some leading questions to the sheet (Do three 1/3 cups really make a cup? How many teaspoons in a 1/4 cup?), but I mostly just let them play. Besides, it feels ridiculously awesome to sink your fingers into a container of rice like that. So there's that, too.


Finally, we used measuring cups to make playdough. Everyone made their own batch using a half cup, a quarter cup and a tablespoon.

This is the recipe I use:
In a bowl, mix 1/2 cup flour with 1/4 cup salt.
In a separate container, mix 1/4 cup water with 1 tablespoon of vegetable oil.
Combine and stir carefully till dough forms.
Dump the dough onto the table and finish kneading it with your hands. If it's too dry, add more water. If it's too sticky, add flour.


 The oil gives is a really smooth texture and the kids enjoyed making the dough, playing with it, and taking it home (I offered plastic ziploc bags so they could take it with them).

All in all, I was pleased with this particular lab. The group stayed much longer than usual (60 minutes instead of the usual 45) and seemed to really enjoy each station.
Related Posts Plugin for WordPress, Blogger...